Is it possible to be completely invisible online? The short answer to that is no, you can’t. However, there are some simple steps you can take to mask your online identity, scrub your data and further protect your privacy. In this article, we’re going to explore 9 actions you can take today to help you build more privacy on the internet
This isn’t about locks on your doors or security cameras on your property. Taking action to minimize your digital footprint is an important part of what you need to do to become anonymous online. Follow along with these nine steps:
- Use Your Passport as an ID
- Mask Your Home Address
- Mask Your Phone Number
- Hide Your Personal Email Address
- Use a Virtual Credit Card for Online Purchases
- Delete Your Online Data
- Hide Your Social Media Accounts
- Use a Privacy-Focused Internet Browser
- Try Using a VPN or Tor
Let’s take a look at each of these steps individually.
Step 1: Use Your Passport as an ID
This may sound weird, but anytime I am asked to present a form of ID, whether that’s in person or if I’m verifying a crypto exchange account, I intentionally share my passport, not my driver’s license.
Why?
Between my passport and my driver’s license, the passport has less personal information about me. Anybody who has a copy of the front of my driver’s license knows my full name, my birthday, my height, my eye color, my physical address…and my signature!
With my passport, all they know is my name, birthday and state where the document was issued.
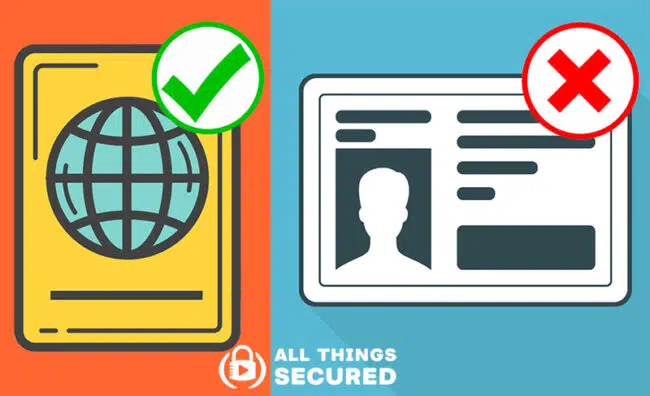
Admittedly, this doesn’t make a huge difference in your overall online privacy nor will it make you completely anonymous online, but when we string together a lot of these tiny changes, it does have an impact.
Step 2: Hide Your Home Address
Stop giving out your home address to every person and company that asks for it! There’s a reason that you continue to get tons of junk mail in your mailbox.
Most of the time, retailers and other such companies don’t need your actual home address and it’s entirely possible to use a virtual mailbox to mask your home address. This virtual address can receive both letter mail and packages, sending you pictures that you can review on your phone.
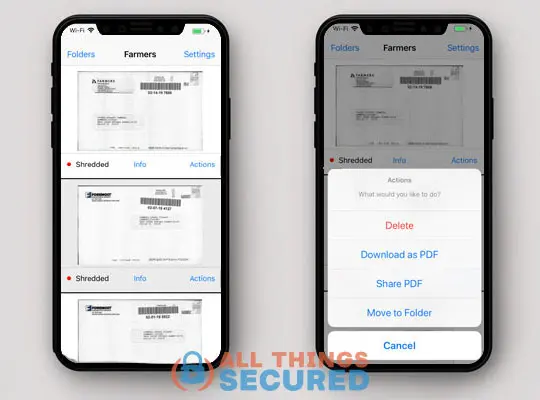
You then have the option of having the virtual address company scan the mail, forward it, delete it, whatever. I use a company called Traveling Mailbox that has worked well for the past 7 years.
Obviously, if you’re making a purchase of a physical item that you want to receive at your home (i.e. from Amazon), it’s simply more convenient to use your home address. This tip is focused more on those times when you’re being asked to give your home address on a form.
With the exception of government agencies and sensitive packages, I try to use this address everywhere it can be accepted to mask my home address.

Step 3: Mask Your Real Phone Number
Being more anonymous online means you should be very picky about who you share your personal mobile phone number with. The only time your phone should ring is if a friend or family member is calling you.
But how is this possible?
It’s entirely possible to mask your phone number with a virtual number from a service like Hushed or Google Voice. In addition to masking your real phone number, it’s also a great way to screen all texts and calls through an app on your phone.
You could buy a lifetime phone number through Hushed that allows you to send and receive text and phone calls without actually giving away your real phone number. If your current number is already overwhelmed with spam could port your phone number over to Google Voice, start over with a new number from your mobile service provider, and then screen everything through the Voice app.
Using Hushed will cost you $25 but it’s super-easy to set up. Google Voice, on the other hand, is free, but the process of porting and getting a new number is a bit cumbersome. It’s up to you.
For those who would rather increase the security and privacy of your current phone number, there are also secure cell service providers you can consider that beef up your mobile security and privacy.
Step 4: Hide Your Personal Email Address
By now, all of us have used our personal email address to sign up for so many different services, it almost feels like masking your email address is a lost cause. Thankfully, there are a lot of new services that are popping up to make using email aliases a lot easier.
An email aliases is a unique and often random email that gets forwarded to whichever email inbox you prefer to use. If you finish using that email alias or find that it starts receiving spam, you can easily delete the alias without affecting your primary inbox.
If you have any kind of Apple iCloud subscription, you automatically get to use their Hide My Email feature. There are other standalone services like FastMail, AnonAddy or SimpleLogin (included as part of the Proton Pass password manager) that do the same thing for a small fee.
It all boils down to the fact that again, you’re trying to mask the data that you’re always giving out as you surf the internet and make sure that it’s data you can easily trash or change.
Step 5: Use a Virtual Credit Card (not your real one)
Your privacy is heavily dependent upon how you handle your financial data. This is particularly true of your credit card, a number which we flippantly give out to ever single online merchant that asks for it.
But if you’ve ever had to replace your credit card before, you know how cumbersome it can be.
There are great services like Privacy.com (US only, get a $5 credit with this link) Revolut (international), Klutch (US only), Ironvest (use code ATS2023 for 25% off annual plan) and other alternatives to Privacy.com that allow you to create virtual credit cards to pay for things online.
Instead of giving away the number on your physical credit card, which is difficult to change or replace, you’re creating a new virtual card for every merchant that can have a monthly limit or even a transaction limit.
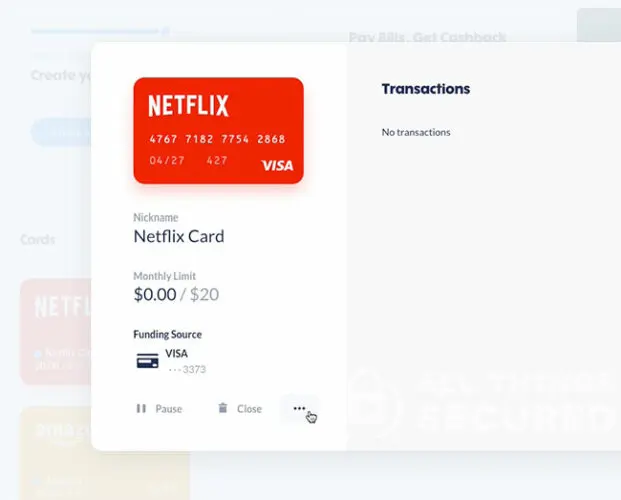
I have a card for Netflix that only works for Netflix. I have a card for Amazon that only works for Amazon and has spending limits. I have a specific card for any subscription service so that I have the control to be able to pause or close the account with the click of a button.
Best of all, in terms of being anonymous, some virtual credit cards allow you to use any name and address for billing so that you don’t have to give away your actual name and address.
Want to give it a try? For US residents, you can apply for a Klutch card for free and get a $20 credit after your first purchase when you use the referral code “SECURED23”.
Step 6: Delete Your Data Online
The question that gets asked all the time is this: “Why should I even care? I have nothing to hide!“
Have you ever done a search for your name on Google? Especially if you Google your name and the city where you live, you might be shocked at how much personal information is freely available online. This is data that can be used against you by malicious actors.
This includes stuff like your phone number, address, relatives, property values, criminal records, estimated salary and so much more.
It’s possible to scrub this data yourself, but there is a growing industry of data broker removal services that make legal takedown requests on your behalf for data you want removed.
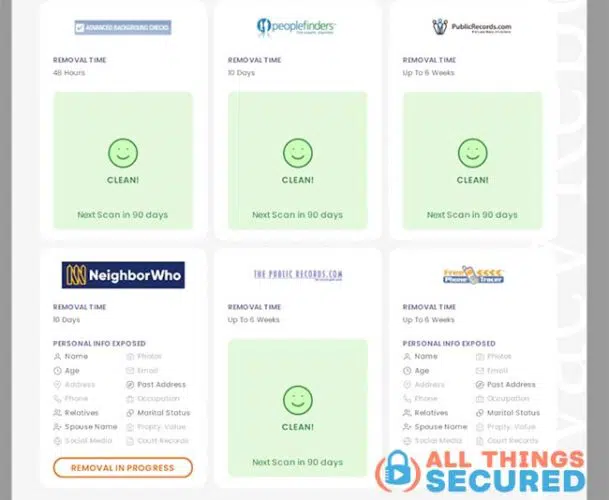
I use and recommend DeleteMe, and you can get a deeper understanding of how this works in my comprehensive DeleteMe review. What makes this so valuable is that DeleteMe continues to scan for my personal info every week and any time it finds something new, they send requests to have it removed immediately.
Over the past year, they’ve removed me from hundreds of websites online!
Special Offer!
Get 20% off any DeleteMe subscription when you use the code “ATS” at checkout. Also now available for those outside the US.
Step 7: Hide Your Social Media Accounts
A good portion of our personal information that’s floating around the internet is sadly the info that we voluntarily publish on platforms like Facebook, Instagram, LinkedIn, and others.
The extreme version of this kind of privacy tip is to tell you to just delete your social media accounts. That takes a special kind of person and most people aren’t willing to go this far.
For everybody else, becoming invisible requires taking steps on each of the platforms individually. This mean:
- Set your Instagram account to private;
- Lock down your Facebook profile;
- Don’t use your real email address on your LinkedIn profile;
- Be careful what kind of content you post;
YOU have control over your data privacy on social platforms, so you need to take the initiative to change the settings and take care when posting updates for the world to see.
Step 8: Use a Privacy-Focused Internet Browser
Most people don’t realize just how much data their internet browser can see about their internet surfing habits. This is especially true if you use Chrome, which is the biggest culprit of them all!
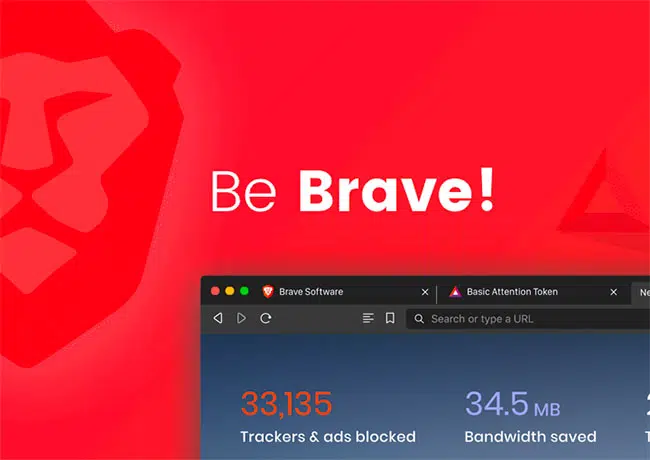
When I surf the internet, I go between using both Firefox and Brave (although I’ve had to do a hack to watch Netflix using Brave). I’ve configured Firefox in a way that I’m comfortable with, but the advantage of Brave is that it offers incredible privacy right out of the box.
You could even use a Tor web browser if that’s what you prefer. It’s up to you.
Part of limiting your digital footprint is stopping services like Google, Facebook and advertisers from following you all around the internet. Brave does that and, as a result, actually speeds up most websites since they don’t have to load these trackers.
Best of all, Brave is a free download with a bunch of other features I won’t dive into here.
Step 9: Try Using a VPN or Tor
Last but not least, another great way to make yourself invisible online is to use a virtual private network (also known as a VPN) or a TOR connection (which stands for The Onion Network).
Now fundamentally, these are two different tools and I’ve explained the differences between VPN and Tor here, but the end result is that you’re trying to cover your tracks as you browse through the internet. You can even set up your own proxy if that’s something you know how to do.
For a virtual private network, I use a service like ExpressVPN, which hides IP addresses, a piece of personal data that tends to reveal your location.
A Tor connection, which is available within the Brave browser, hides your traffic by relaying it through multiple servers around the globe, which again hides your IP address and any ability for browser fingerprinting.
Whether you choose a virtual private network or a TOR connection, being careful how you surf the internet is an important part of limiting your digital footprint and having more privacy online.
Final Thoughts | Being Anonymous Online
This is all just the tip of the spear. There are so many more tools and tricks to limit your available data on the internet, but these 9 steps are a great way to get started learning how to hide your information as you navigate the internet. You’re never going to be totally anonymous, but each small step can make a big difference over time!
Be sure to subscribe to the All Things Secured YouTube channel!